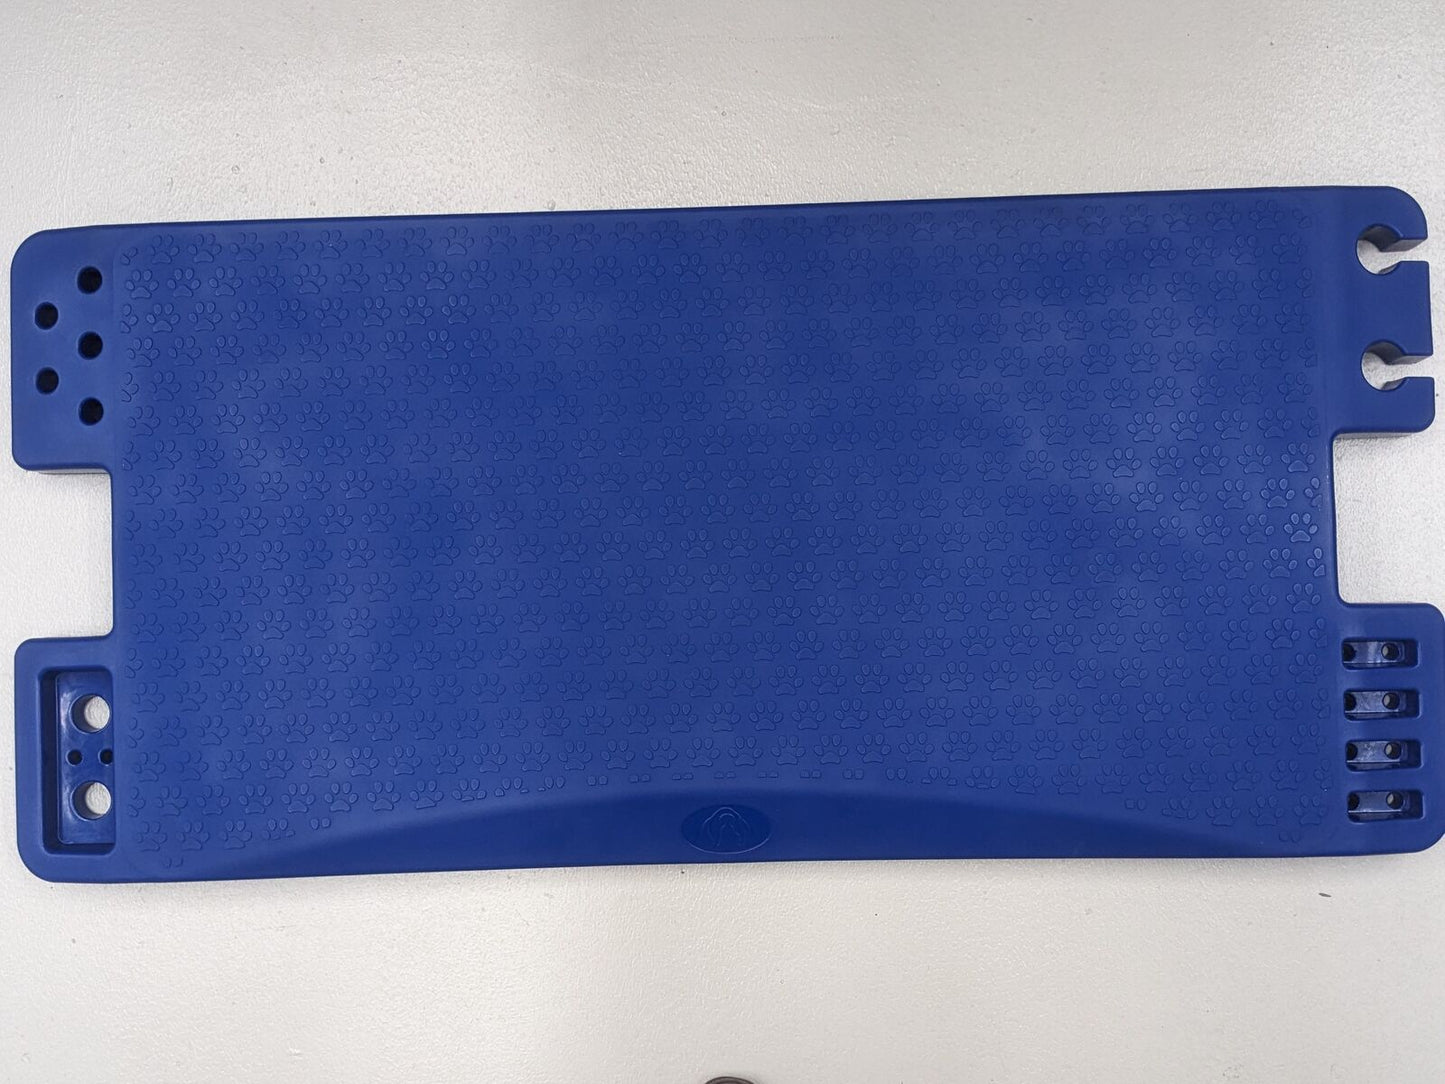
Professional Plastic Table Top
Professional Plastic Table Top
Transform your grooming setup with this skid-resistant plastic table top, crafted from heavy-duty polyethylene for a robust, slip-resistant surface that keeps pets secure during grooming. The lightweight yet durable design withstands heat from regular pet dryers while molded tool recesses at either end keep clippers and scissors within easy reach.
Engineered as a direct replacement for your existing table top, this unit requires installation and is compatible with select tables from The Clipper Shop, offering a practical upgrade that combines safety, convenience, and long-lasting performance.
Key Features
| Brand | The Clipper Shop |
| SKU | 14031Pro |
| Material | Heavy-duty polyethylene |
| Surface Type | Skid-resistant |
| Overall Length | 51.6 in |
| Overall Width | 23.6 in |
| Overall Height | 2.4 in |
| Product Weight | 17.4 lb |
| Features | Molded tool recesses, heat resistant |
| Compatibility | Compatible with select The Clipper Shop grooming tables |
| Installation | Requires installation |
| Product Type | Replacement table top |
Highlights
- Skid-resistant surface for safe animal grooming
- Heavy-duty polyethylene construction
- Lightweight yet strong and durable
- Heat resistant for use with regular pet dryers
- Molded tool recesses at both ends
- Direct replacement for existing table tops
Compatibility
- Professional Electric Pet Grooming Table with Hand Control
- Professional Electric Pet Grooming Table with Foot Controls - NEW Style
- Grooming Table Hydraulic
- Quality Pet Grooming Height Adjustable Table Large
How to use
Installation Instructions:
CAUTION: If using a drill to perform the following steps, be careful not to apply too much torque as this will strip the holes. It is recommended to use a hand screwdriver instead.
Step 1: Remove the screws which fasten the existing table top to the table frame. These screws are found on the underside of the table frame and are located within the hole openings.
Step 2: Remove the existing table top.
Step 3: Position the new plastic table top evenly on the table frame.
Step 4: With the new table top in place, use a marker to mark the location of where pilot holes need to be drilled, using the holes in the table frame as a reference.
Step 5: Remove the new table top and place it upside down on a flat non-abrasive surface. Drill pilot holes in the positions as marked in the previous step.
Step 6: Place the table top back on the table frame and align the pilot holes with the holes in the table frame.
Step 7: Using the screws from Step 1, fix the new table top to the table frame.
What's included
- 1 x Professional Plastic Table Top
- Mounting hardware not included (reuse existing screws)
Frequently asked questions
|
Product features
Product features
Materials and care
Materials and care
Merchandising tips
Merchandising tips
Share